

Sunday, September 10, 2017
So. Our belongings took 28 days after the road trip to arrive. So what's a lady to do? Fiddle with all the bathroom hardware, that's what!
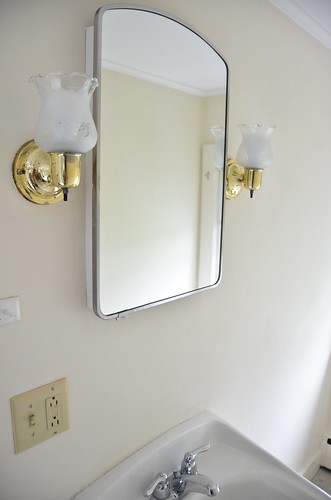
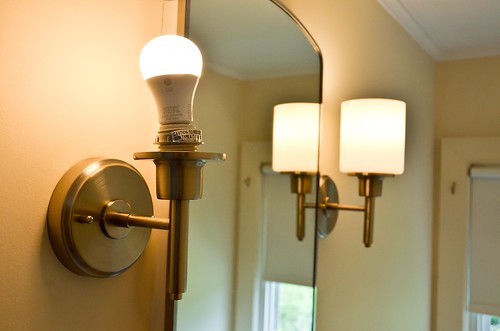
For some unknown reason, all the bathroom hardware was in chrome, except for the chain lock on the door and the wall sconces, which were both in brass. This is what I started with, you'll note over time that the towel rod and switchplates change, along with the wall sconces which I'll be cursorily covering in this post.
Feasibility: super doable.
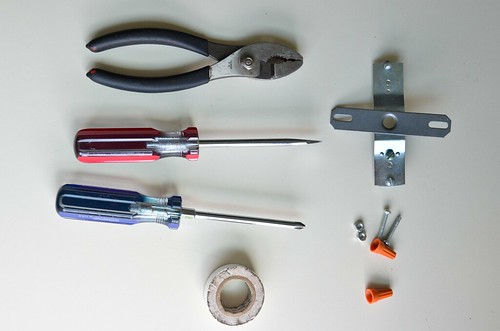
- Materials: I needed both a flathead and Philips screwdriver, because that's what the old hardware used. I also used the pliers for stripping one of the new wires a bit. Electrical tape is optional. Everything else (wire nuts, brackets, screws, etc) should come with your wall sconce or in the old wall sconce you're removing.
- TURN OFF THE ELECTRIC FUSE FOR THE ROOM YOU'RE WORKING IN.
Yes, you'll have to do this work during the daytime, or with a flashlight of some sort. It's worth it to not zap yourself. Plus, better photos in natural lighting . ;)
Also, I'm no expert. Replace wall sconces at your own risk. I got all my info from YouTube, you could consult an electrician or handyman or somesuch.
- Unscrew exterior screws (usually need to twist a cap off first)
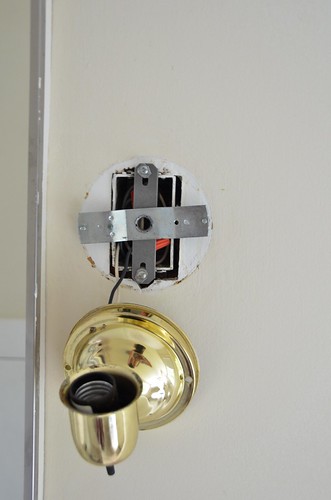
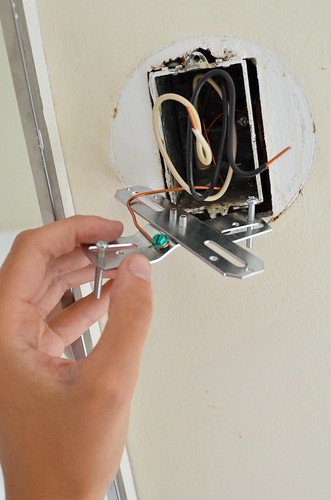
- Unscrew old sconce bracket
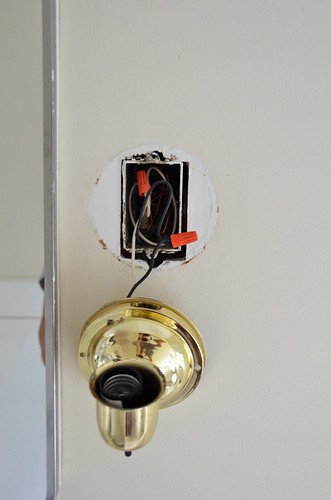
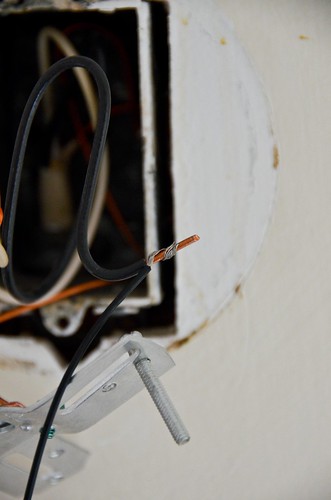
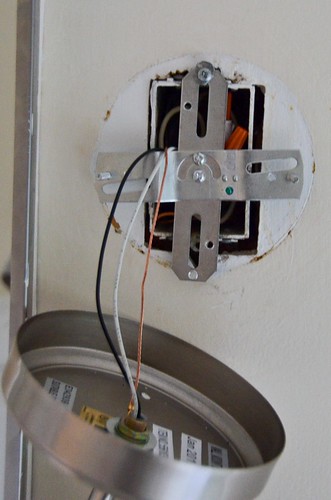
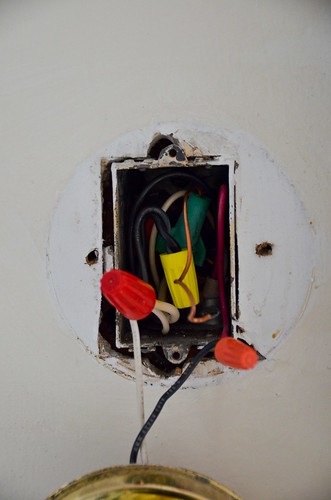
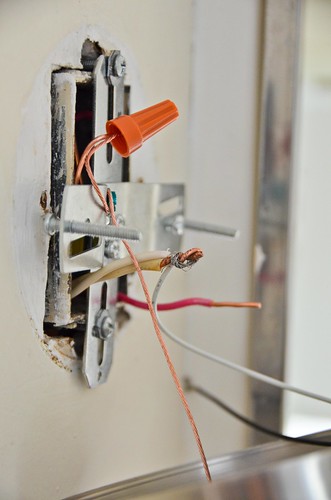
- Remove wire nut from black wires
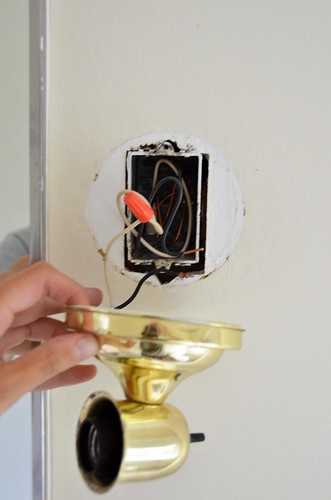
- Remove wire nut from white and copper (ground) wires
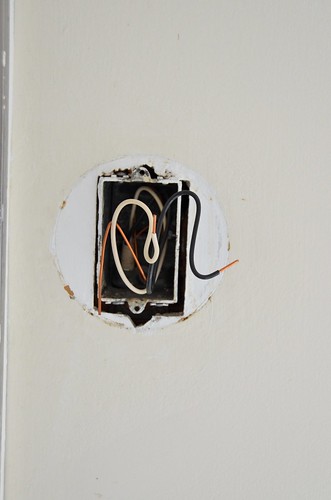
- Check new sconce for white, black, copper wires.
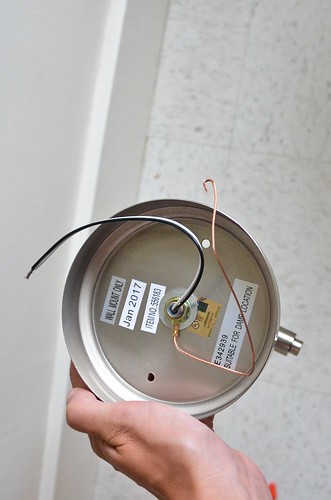
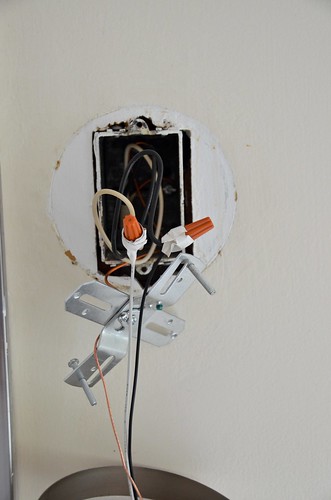
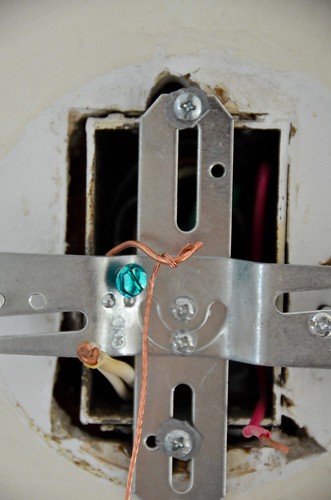
- Wrap copper wires (ground) around green ground nut (both the wall-copper-wire and the new sconce-copper-wire)
- Twist white wire on new sconce to wall-white-wire
- Twist black wire on new sconce with black-wall-wire
- Screw on wire nut, tug on wires to make sure it doesn't come undone
- Screw new sconce bracket into holes. I couldn't get my screws for the bracket to go into the electric box wall holes, so i just used the screws & washers that were from the old wall sconce.
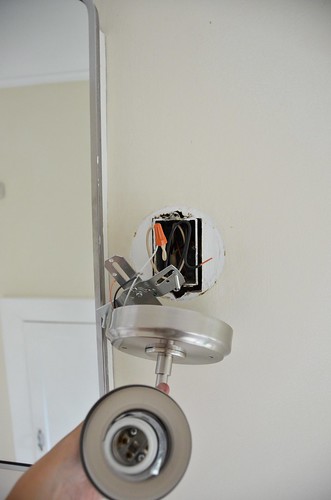
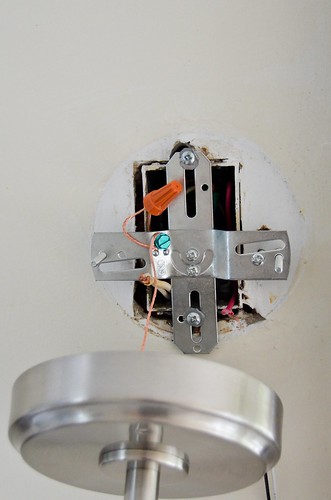
- Place exterior screws through wall sconce (inward, poking outward)
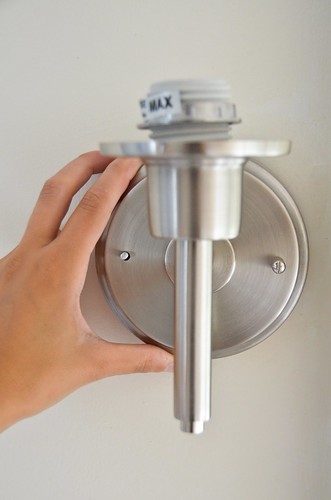
- Twist endcaps on top of screws
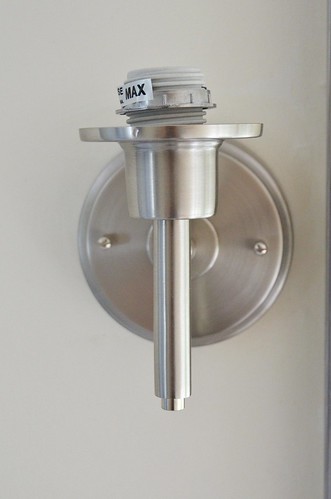
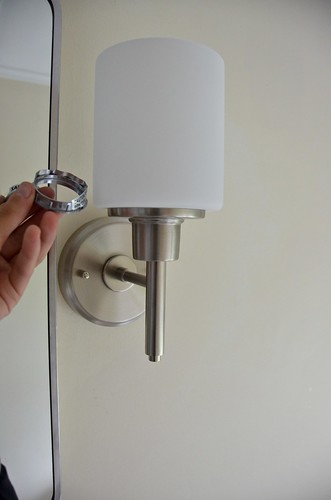
- Place on lampshade
- Turn fuse/electricity back on and test that new wall sconce works!
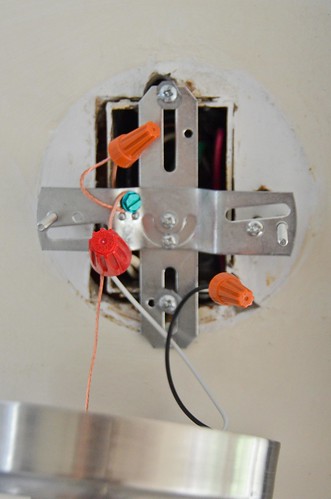
For the second wall sconce, I basically just copied the reverse of how the old sconce was installed. There was some added wonkiness, too - an extra stabilizing screw into the wall, different ground wire securing, an extra white wall wire, etc. etc. So here's the alternate steps I followed for the second sconce:
- Second sconce had 3 white wires twisted together with wire nut. I removed the old sconce, and just wrapped the new sconce's white wire with the 2 white-wall-wires
- Screw new wall sconce bracket into holes, and twist wall & sconce copper wires together Note also that this sconce did not have 2 good holes for attaching the bracket to, so I added an additional screw to secure the bracket to the wall - 3 instead of just 2.
- Wrap one of the copper wires around the green ground pin.
- Note that there were 2 white wall-wires, twist the new wall sconce's white-wire around them (needed to use a wire stripper to get more exposed wire)
- Wire nuts on the three wire sets twisted together - make sure wires don't easily come out of the wire nuts!
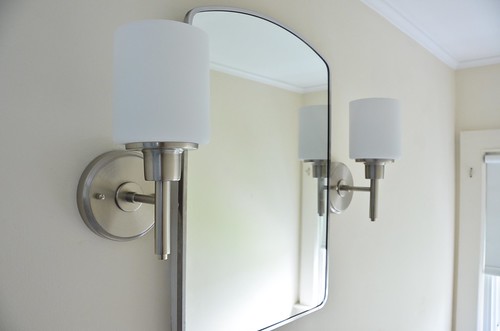
And look, both wall sconces worked anyways!


0 comments:
Post a Comment